Install Codex and use AGIOne as the model provider
Install Codex
- Ensure Node.js (v20.x.x or later) is installed.
- Open cmd and execute the command:
npm install -g @openai/codex@latest- Verify installation results.
codex --version
Model Configuration
- Visit Agione International Version and register an account.
- Go to the model marketplace, select a model, enter the API Usage page, and obtain the API key and model id.
Configuration Instructions (Using AGIOne as the Model Provider)
In the ~/.codex folder, create a config.toml file and configure the provider and model information:
model_provider: Custom provider name (example: agione)model: Obtain theModel Idfrom the API endpoint in the AGIOne platform's quick model start interfacebase_url:https://agione.pro/hyperone/xapi/api/v1wire_api: Supports the response protocolenv_key: Obtain theAPI Keyfrom the authentication process in the AGIOne platform's quick model start interface, and set the environment variable name corresponding to the API key.
Python
model_provider = "agione" # Custom Provider Name
model_reasoning_effort = "medium" # Reasoning intensity(high/medium/low)
model = "openai/gpt-5-mini/61db2"

# Custom Provider Details
[model_providers.agione]
name = "agione"
base_url = "https://agione.pro/hyperone/xapi/api/v1"
wire_api = "responses"
env_key = "AGIONE_API_KEY" # Corresponding environment variable name
Setting Environment Variables
- You can set it in the system environment variables: AGIONE_API_KEY "your_agione_key"
- Or execute the following code:
PowerShell
setx AGIONE_API_KEY "your_agione_key"Please note: The API Key environment variable name must match the
env_keyinconfig.toml.
Getting Started
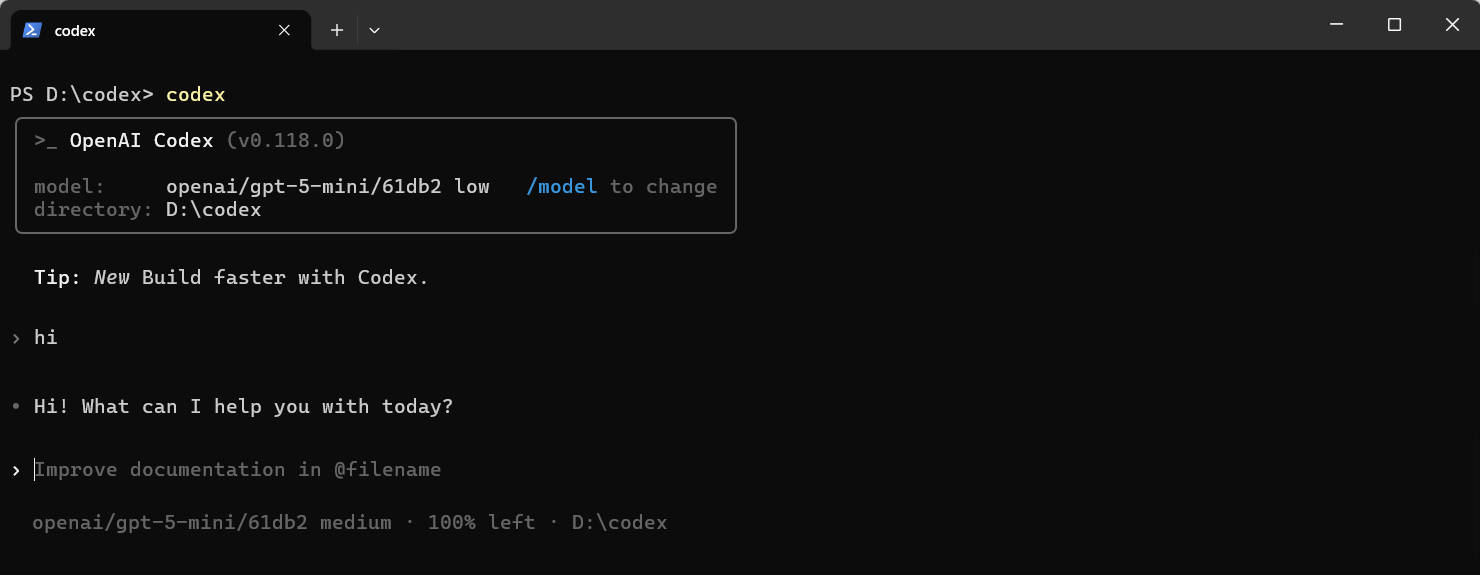
Open cmd in the project directory and run codex. You should see that the model you added has been automatically selected. Enter the test text "hi". If it responds normally, the configuration is successful.